

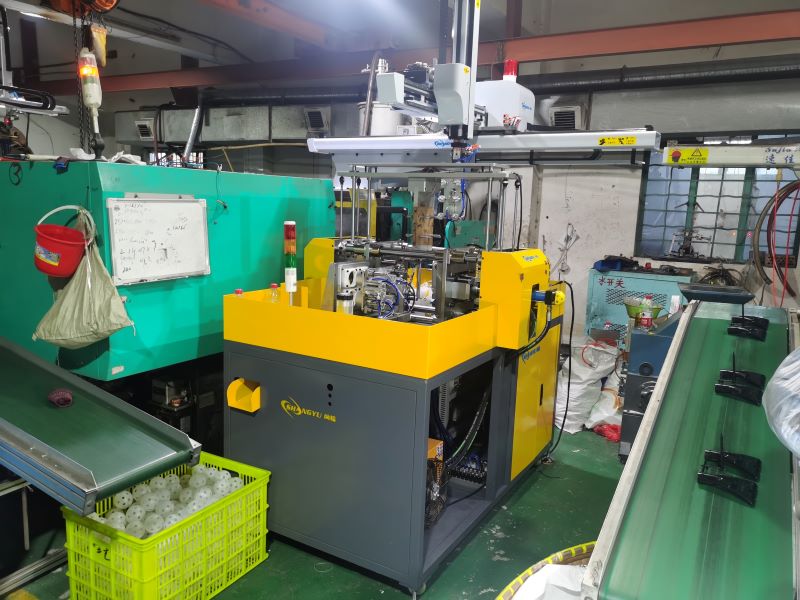
In precision sports equipment production, optimizing each process step is critical. One key process is racket edging. The peak racket hemming machine setup must be accurate for different materials, especially carbon fiber and glass fiber. This guide walks you through key steps to ensure ideal performance and quality.
Understanding Material Properties First
Before adjusting machine parameters, it is essential to know the racket's material. Carbon fiber is lightweight and heat-resistant, but sensitive to pressure. Glass fiber, on the other hand, offers durability and flexibility but responds differently to heat.
Therefore, tailoring machine settings for each type ensures better results. Otherwise, you risk weak adhesion or surface deformation.
Step 1: Set the Correct Hemming Speed
Start by configuring the edging speed. A slower speed allows better control, especially with complex frame shapes.
For carbon fiber, a moderate to slow speed is ideal.
For glass fiber, slightly higher speeds work well due to its flexibility.
However, increasing speed may reduce edge bonding quality. Thus, it's best to test small batches before scaling production.
Step 2: Adjust Hemming Temperature
Temperature is vital for adhesive activation and material bonding. The peak racket hemming machine setup must deliver even heating.
Carbon fiber requires lower temperatures, typically 130°C–150°C.
Glass fiber can withstand higher temperatures, around 160°C–180°C.
Monitor heat distribution consistently. Uneven heating leads to weak edges or wrinkling. Additionally, always use temperature sensors for real-time feedback.
Step 3: Calibrate Edge Pressure Settings
Next, fine-tune the machine's pressure. Proper pressure ensures the hemming tape bonds tightly around the racket frame.
For carbon fiber, use light to medium pressure. Too much force may crack the surface.
For glass fiber, medium to high pressure is acceptable.
Even so, excessive pressure may squeeze adhesive unevenly. Therefore, monitor outcomes after each adjustment.
Step 4: Test and Fine-Tune in Phases
After setting initial parameters, run test cycles. Always inspect the following:
Edge alignment consistency
Bonding strength after cooling
Visual smoothness of the tape line
If the results are uneven or loose, go back and adjust only one parameter at a time. This method keeps changes traceable and manageable.
Step 5: Document Optimal Machine Settings
Once you find the ideal configuration, document it for repeatability. Include material type, temperature, speed, and pressure settings.
This not only improves efficiency but also trains new operators quickly. Every peak racket hemming machine setup should come with a digital or printed reference guide.
Conclusion: Precision Drives Performance
To sum up, correct peak racket hemming machine setup ensures consistent, high-quality racket production. By adjusting speed, temperature, and pressure based on material, you minimize defects and improve output reliability.
For manufacturers producing at scale, these steps are not optional—they are essential. Consistent optimization builds a reputation for excellence and strengthens product performance.
Whether you work with carbon fiber or glass fiber, tailored machine settings give you a competitive edge. Therefore, always test thoroughly, monitor outcomes, and update configurations as materials evolve.